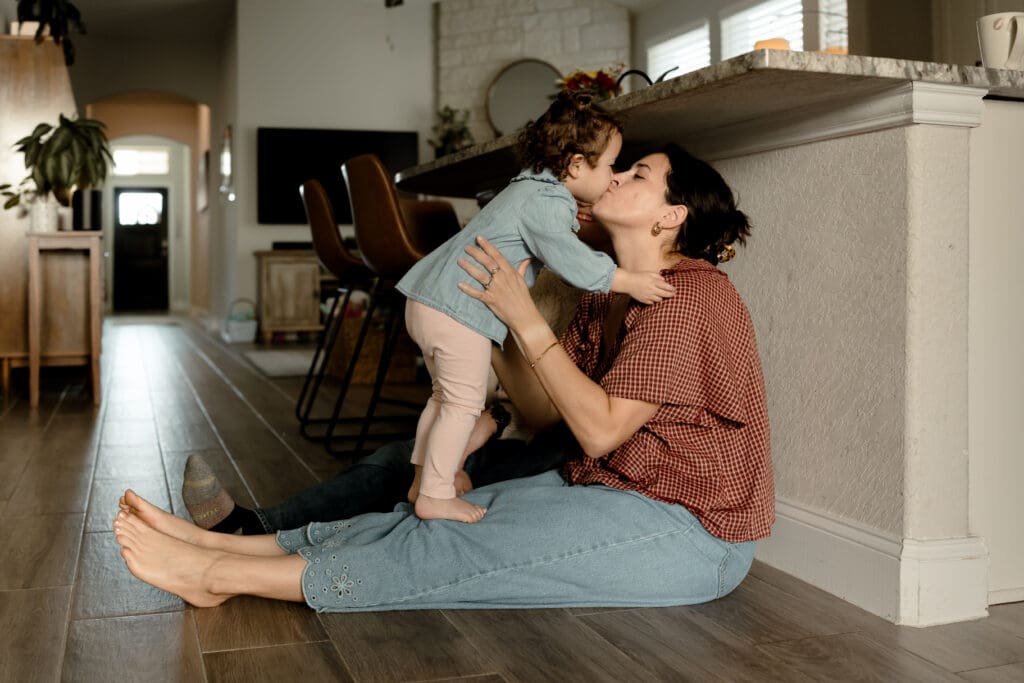
Is your family preparing for an in-home photography session? While the idea of a beautiful, candid photoshoot in your own space sounds lovely, the thought of preparing your home for family photos can feel overwhelming.
Don’t worry! Your home doesn’t need to look like a showroom; it just needs a little intentional preparation to ensure we’re using spaces that capture your family’s genuine story. From identifying the rooms with the most flattering natural light to cleaning the essentials and planning cozy, fun activities, this blog will walk you through simple steps to prepare your home so you can focus on what truly matters: connecting with your loved ones.
Planning a newborn photo session in your home? This post will help you prepare for that, too. Or you can check out this blog post geared towards newborn photos.
Note: Your “home” simply means where you live. Your family photos can take place in a house, apartment, condo, or the RV you travel in. It doesn’t matter if you rent, own, or live with other family members. Home is where you are with your family, and it’s perfect for family photos. I may say “house” in this blog, but the principles apply to all types of homes.
Another note: I am a photographer located in southern Texas, so my notes about natural light are based on my location. Homes in other parts of the world will have different lighting.
Choose the Best Rooms for Family Photos Based on Natural Light Available
When we do photos in your home, I choose the rooms we use based on (1) what rooms matter most to you and (2) which rooms have the best available natural light. The rooms we use the most will be the ones that meet both requirements. If your favorite room in the house has almost no natural light, then we won’t take pictures there. You may be surprised when I choose a nook in your home because that’s where the light is.
What do I mean when I say “best natural light?”
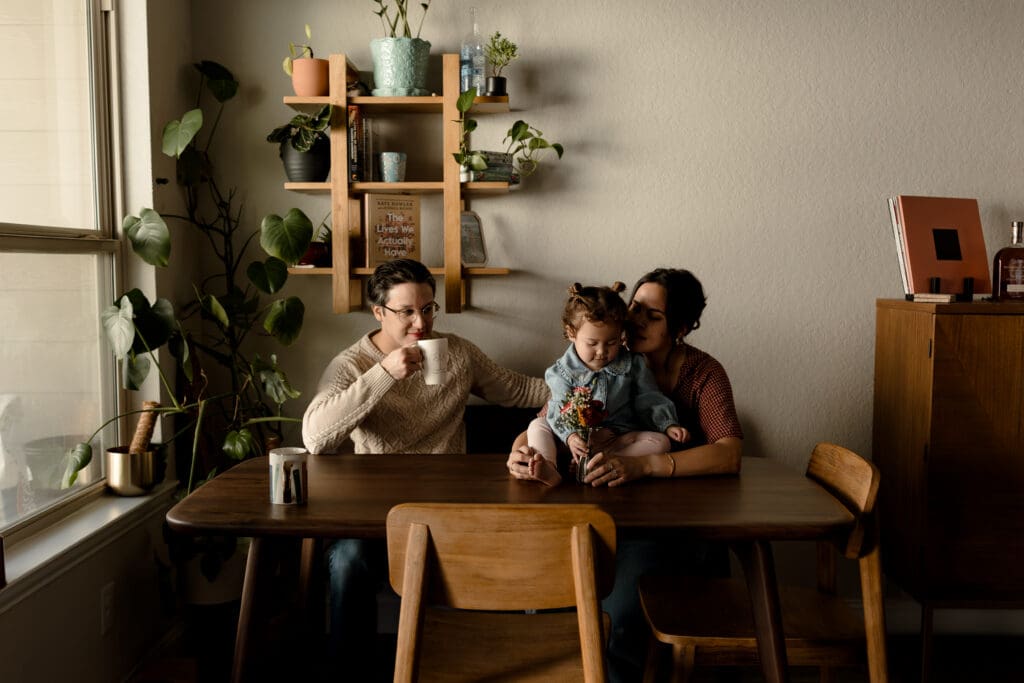
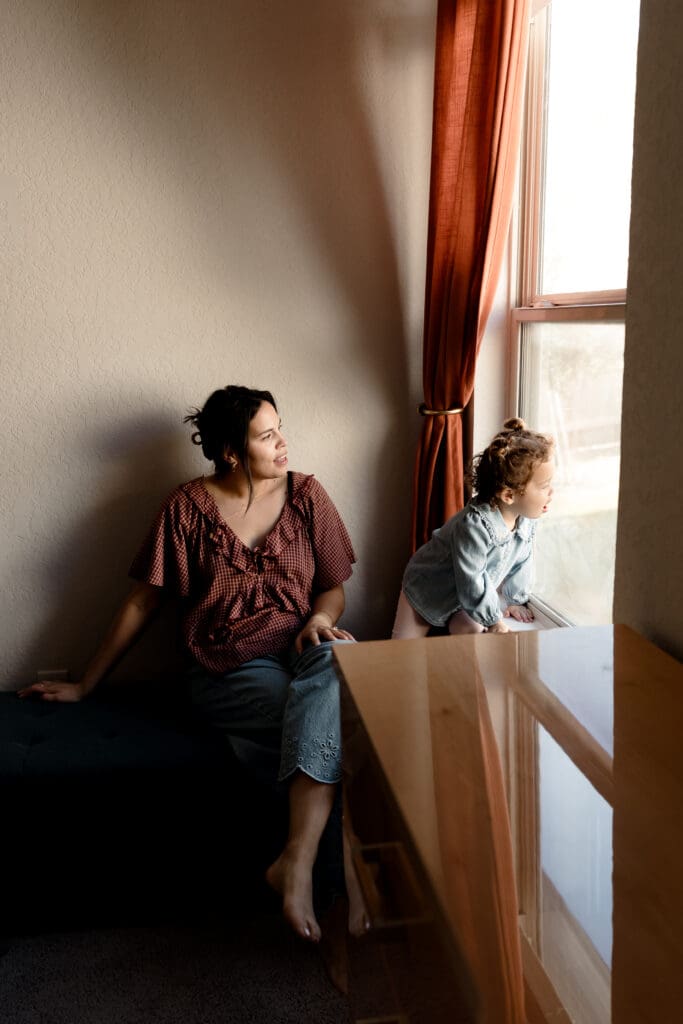
Rooms with big windows, multiple windows, or one window with direct sunlight typically provide enough natural light for photos. When I walk into a room, I turn off all artificial light sources (lamps, overhead lights) and open blinds and curtains to see how much window light spills into the space. Does the light fall across furniture? Does it only touch the floor or a wall? Is it soft, or are there harsh shadows and bright streaks of light?
If the sunlight fills the entire room or provides enough light in one portion of the room where you can sit/stand then I’ll say “yes, we can use this space”. If the light only touches one spot that has too much furniture in the way or isn’t the desired backdrop, I’ll suggest using a different room.
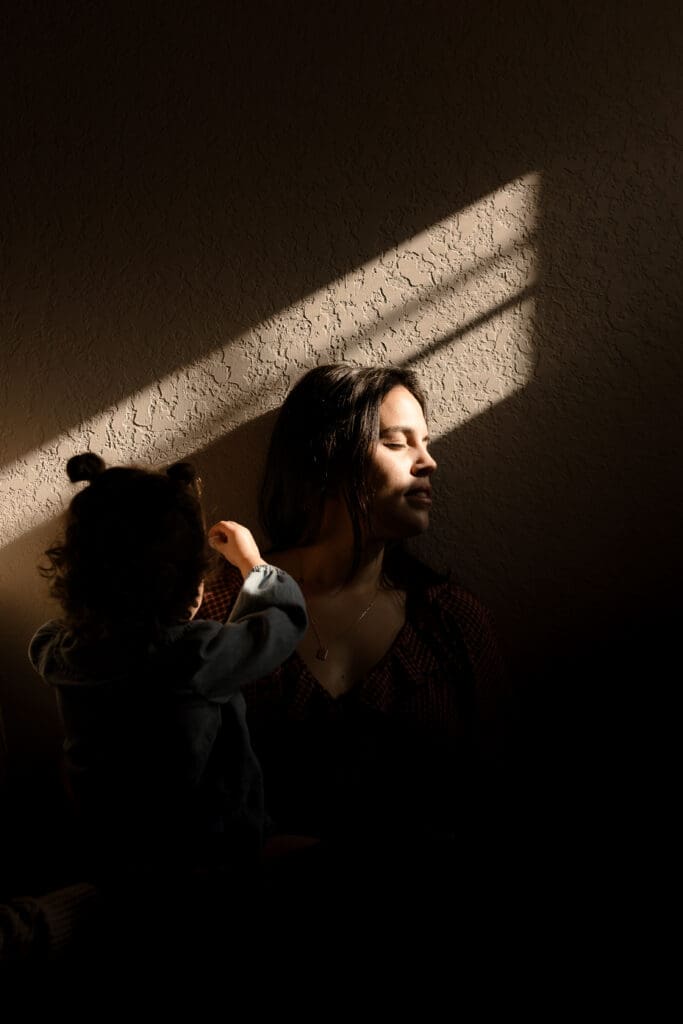
Sometimes, I’ll see a spot with interesting light (a strong streak of light, dappled light from trees outside), whether it’s against a wall or on the floor, and pose your family there for a photo or two, but I won’t use that spot for more than that.
So you may be wondering, “How do I know ahead of time what rooms we’ll use, so I know what to clean?”
How to Identify the Best Lit Rooms in Your Home
Look at your home and figure out which rooms face North, South, East, and West. This will help you determine two things: (1) which rooms to focus on for photo prep and (2) the best time of day for photos.
South-facing windows provide the most intense natural light and typically work best for in-home photos. These rooms have the most light throughout the day. During the winter months, these rooms have the most light during the morning hours since the sun is lower in the sky and sets early.
North-facing windows provide consistent, soft light throughout the day. These rooms MAY be usable depending on the amount of light available at the time of your session. These rooms typically look brighter to the eye than they appear in camera. Since there is no direct light coming in, the light in these spaces is usually cooler in tone rather than a warm hue that you get from sunrise/sunset.
West-facing windows provide strong, warm light during the afternoon hours as the sun begins to set. These rooms are usually great, but only if your session takes place in the afternoon.
East-facing windows provide strong, warm light during the morning hours. These rooms are typically only a good choice if your session takes place in the morning.
Things to Consider: Do you have anything obstructing your window light?
Are there trees, large bushes, or building structures blocking your windows? Is there a covered patio attached to the room you hoped to use during family photos? All of these things limit the amount of light available in your space. Trees and tall shrubs create weird shadows (which can make for an interesting portrait or two), and block light completely. Covered patios block all direct light from reaching your windows (no matter how large), making the space darker than you may think. It also creates flat light that can make for boring photos. Some neighborhoods have homes built very close to one another, and this means your neighbor’s house may be blocking your windows.
You may also have items inside blocking your windows, too. But we’ll talk about furniture later.

Will Your Chosen Rooms Work Best for Morning or Afternoon Photos?
Now that you know which rooms are the best to use based on the direction their windows face, you can decide what time of day works best for your photo session. I typically suggest 10 am or 2 pm for in-home photo sessions. This is when the sun is high enough to provide soft light. If you’re looking for really warm hues and intense light (strong contrast, light rays, etc.) we can always choose an earlier or later session start time.

Preparing Your Rooms to be Picture-Ready
Once you’ve identified the rooms you’d like to use for your morning or afternoon photo session, it’s time to prepare those spaces for Picture Day. First, narrow down the rooms you plan on using. If you have a large home with multiple spaces that have great lighting, you may feel overwhelmed with the amount of cleaning you’ll need to do for photos. But remember, we only have 1-2 hours for photos. That means we likely will only have time to use 2 – 3 rooms during your session. There’s no need to clean your entire house. So, let’s talk about what to clean and what you can skip.
What to Clean (and What to Skip)
(1) Rooms You’ll Actually Use for Photos
The most common rooms used for in-home photos are: the master bedroom, nursery/kid’s room, living room, and kitchen/dining space.
Unless you have plans to take photos in the bathroom, we are most likely not going to step foot into your bathrooms. Bathroom photos really only take place if you have a master bath with stunning tile, a soaking tub, and beautiful window light, or you want to document routines with your kids, such as brushing teeth, brushing hair, teaching them how to shave, bathtime, or playing with makeup. If those aren’t on the agenda, don’t worry about your bathrooms. Or closets. Even if your home office has beautiful light, we are most likely not going to do photos in there, so don’t worry about decluttering your workspace.
(2) Focus on Priority Areas within Chosen Rooms
You don’t need to do a deep clean of each room. Think surface-level cleaning only. Now is not the time to begin spring-cleaning, shampooing the carpet, or mopping floors.
- Floors – Vacuum or sweep main spaces only.
- You will likely be sitting or lying on the floor during photos, so if you have pets or just haven’t gotten around to cleaning the floor in a while (we’ve all been there), it’s a good idea to clean the floors a couple of days beforehand to minimize the appearance of fur getting on your clothing.
- Surface Areas – dusting and putting items away (simply into drawers on the day) will make a big impact.
- Typically, a little bit of dust on a dresser won’t be noticeable in photos. But I’ve had many parents get stressed or worried when they see dust on the day of photos.
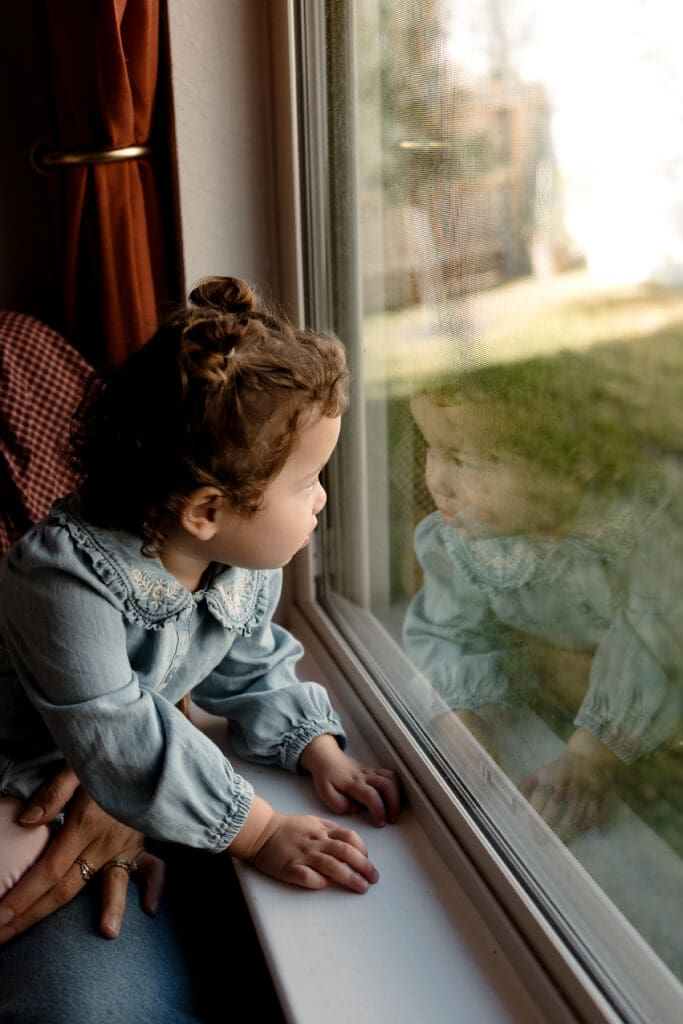
- Windows – clean windows, windowsills, and blinds in the week leading up to photos.
- You’ll likely be standing very close to your windows for photos, especially if it’s a cloudy or rainy day.
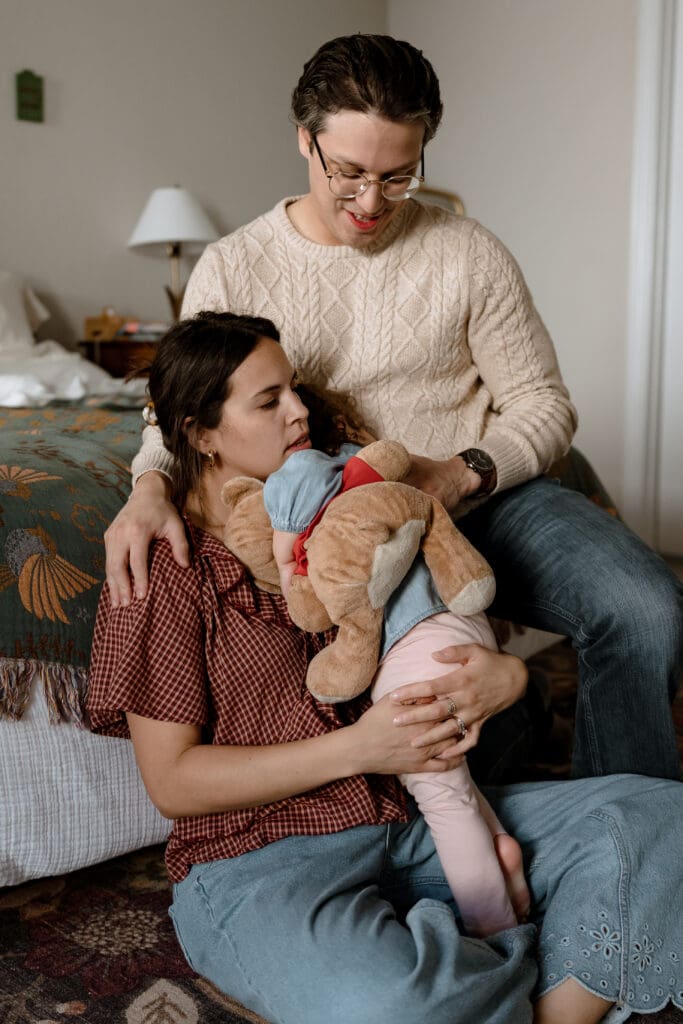
- Bedding – washing your comforter, pillow cases, and any throw blankets on your bed is all you need to do before photos.
- Unless you want photos where you and your kids are hiding under the covers, there’s no need to wash all of your bedding. However, if you have a comforter that is a color or pattern you don’t want in the photos (maybe it clashes with your clothing), I recommend removing it and using the top sheet, which is usually a solid color.
- Couches – if you are doing photos in your living room, vacuum or lint-roll your couch the day before photos. If you can wash pillow covers, that may be a good idea, too, especially if you have pets.
(3) Declutter the Entire Room
To figure out what surfaces need to be decluttered (i.e., what will be seen in the photos), I recommend standing in front of your window, with your back facing the window, and look out across the entire room. Everything you see will likely be in the background of your photos.
Here are things to focus on when decluttering:
- Main area surface items, such as books on a nightstand
- Items on surfaces in the background – neon, bright colored objects will stand out the most
- Electronics & Wires such as smart homes, air filters, smart watch chargers, and TV remotes
- Items you may not want photographed (e.g., diaper bins)

If you have an open floor plan in your home, you’ll likely need to declutter every space. For example, you may only want photos in the living area, but if you can see your kitchen from the living room, your kitchen counters will need to be cleared. I take photos from multiple angles. Having all areas free of distractions will allow me to capture your family from as many angles as possible. If you have a lot of items on kitchen counters or a dining table in the background, my options become limited.
I will always help declutter when I arrive for photos. So if you miss something, don’t sweat it. Decluttering is the easiest part of preparing your home for photos. But you want to do the majority of it before I arrive, so we don’t spend too much time moving items out of the way.

Furniture to Move or Rearrange for Better Photos
You most likely won’t need to move any furniture for your family photos. But I occasionally need to move a few pieces of furniture closer to a window. Or, I need to move them out of the way because they are blocking the window light. Those types of moves can happen during the session.
The only furniture you may want to move before your session are big pieces that are blocking a window or pieces you want to include in photos but are too far from a window. The biggest example of this is a crib. A lot of times, parents want photos of their baby in the crib, but the crib is in a spot that doesn’t receive enough window light.
Furniture you may want to remove from a space before photo day are bedside bassinets and temporary changing tables in the master bedroom, or large toys like dollhouses that may be in a corner by a window.
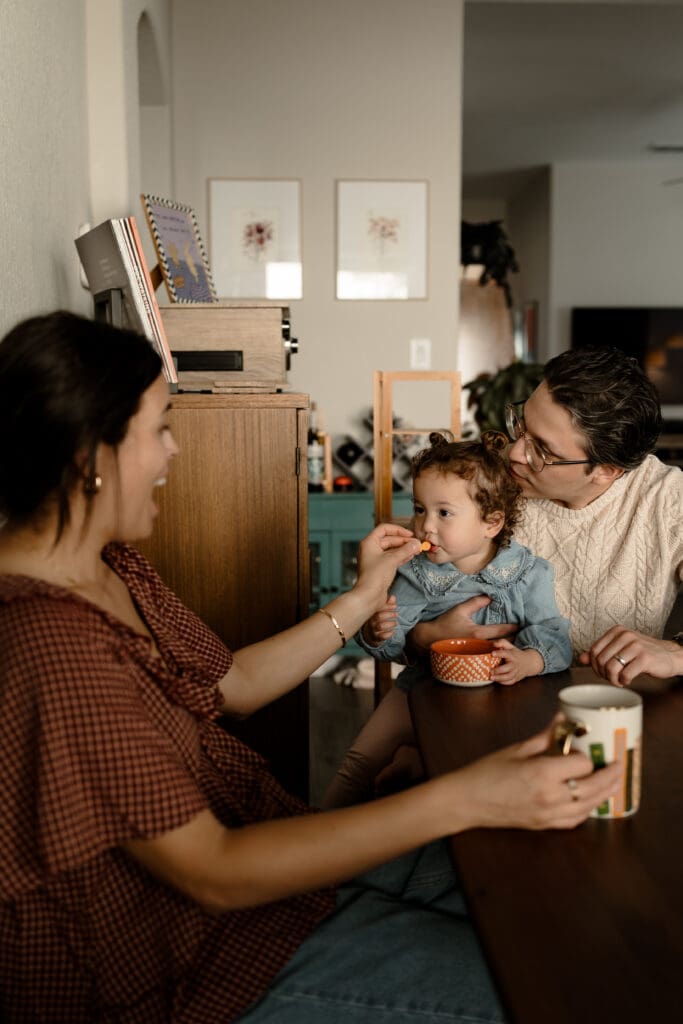
Prepare Items for Activity-Based Photos
Most in-home family photo sessions include activities. We do this so that your kids don’t get bored with taking snuggly photos, start pulling out all of their toys, or insist on turning on their favorite TV show.
I recommend choosing activities based on your kid’s age and current obsessions, or activities you know they love now but will outgrow. You can also choose activities based on the season. For example, eating watermelon outside after playing with sidewalk chalk is perfect for a summer at-home photo session. Decorating cookies is a perfect winter-time activity.
Here are some ideas for activities you can do with your kids during your in-home photo session:
- reading
- baking
- building a fort
- preparing and/or eating a snack
- doing a puzzle
- arts & crafts
- board games
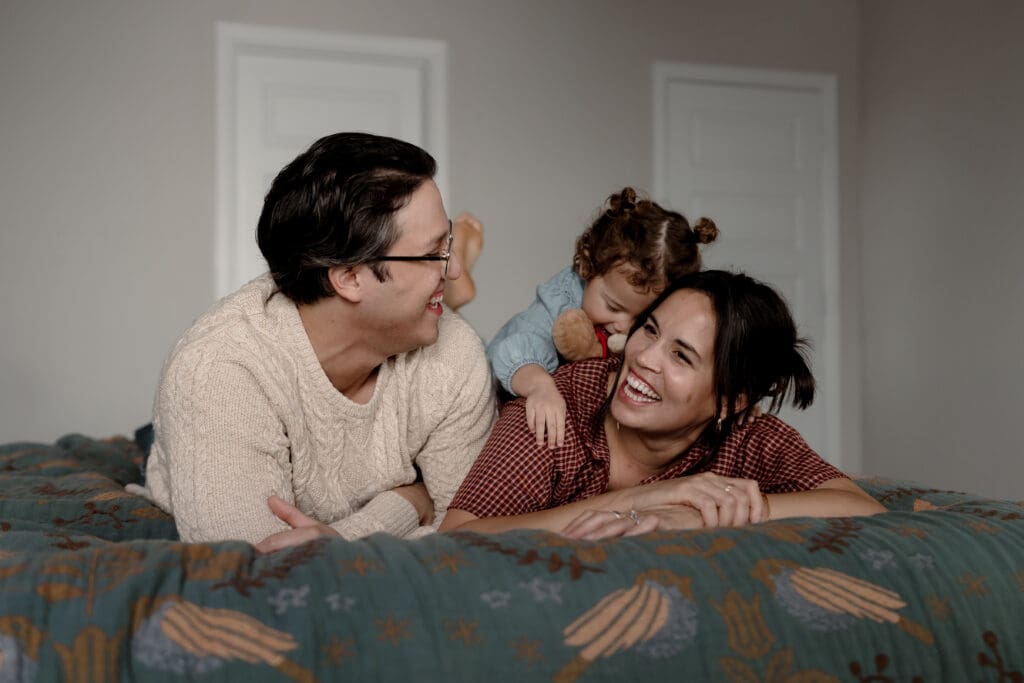
- jumping on the bed/pillow fight
- finger painting

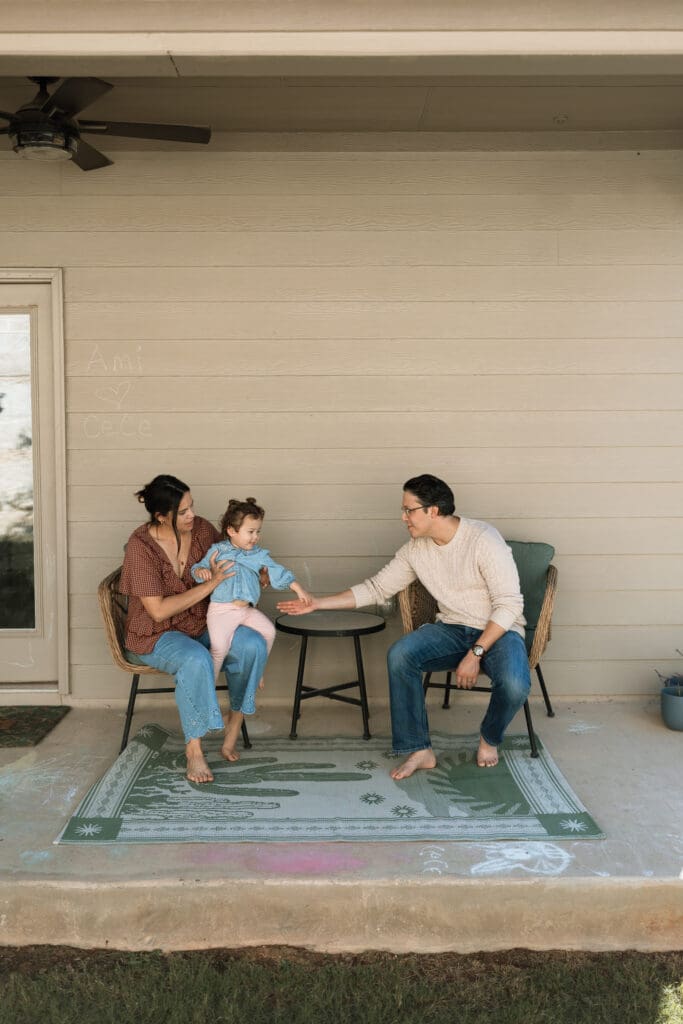
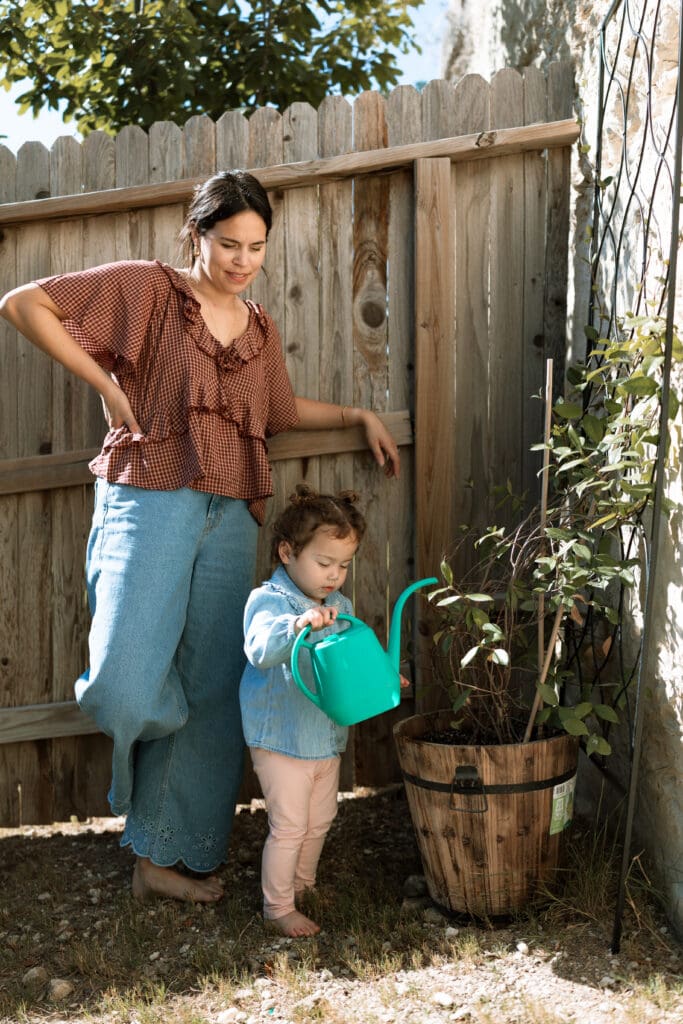
Include Your Outdoor Spaces with these Activities:
- hula hoops, jump ropes, pogo sticks
- roller skates, bikes/scooters, skateboarding
- building castles in a sand pit
- playground fun
- Water activities – playing in a kiddie pool, with a hose, running around in sprinklers, or swimming (see Blog Post coming soon)
- gardening
- blowing bubbles
- drawing with chalk
- Use a sheet as a canvas and paint each other, a large canvas, or other items
Want to include outdoor activities, but don’t have a yard? I’ve done sessions at neighborhood parks (we walk there together at the end of your session). I’ve done sessions in borrowed backyards, too, such as grandparents’ or a neighbor’s house.
Want to do outdoor activities that take place in the evening? All you need to do is ask! If you plan on setting up a movie projector in your yard for movie night or lighting a fire in your firepit for s’mores, we can do your session at blue hour.
Here’s a list of some seasonal activity ideas:
- pumpking carving
- decorating Easter eggs
- Making s’mores
- Cookie decorating (hearts for Valentine’s Day, Christmas/Hannukkah cookies, Halloween themed)
- making Valentine’s Day cards (for each other, for nursing homes, for a shelter, for their classmates)
- Decorate the Christmas tree
Are you Interested in booking a Family Photo Session in your home?
With these simple steps, your home will be perfectly poised to serve as the beautiful, natural backdrop for your family’s next cherished memories. Remember, the goal is to create a setting that is authentic to your life, allowing your genuine connections and personalities to shine through in every frame.
Now, all that’s left is to smile, relax, and have fun together as I photograph the love that makes your house a home.
Contact me today if you’re ready to book a family photo session at home!


